
Picture this: it’s 2 PM, your students are restless, and you need a review session that actually gets them excited instead of groaning. That’s exactly why so many teachers turn to Gimkit. But if you’ve never used it before, becoming a confident Gimkit host can feel confusing at first.
The good news? It’s simpler than it looks. This guide walks you through everything — from setting up your first kit to troubleshooting common problems — so you can run a smooth, engaging game in your classroom today.
What Does a Gimkit Host Actually Do?
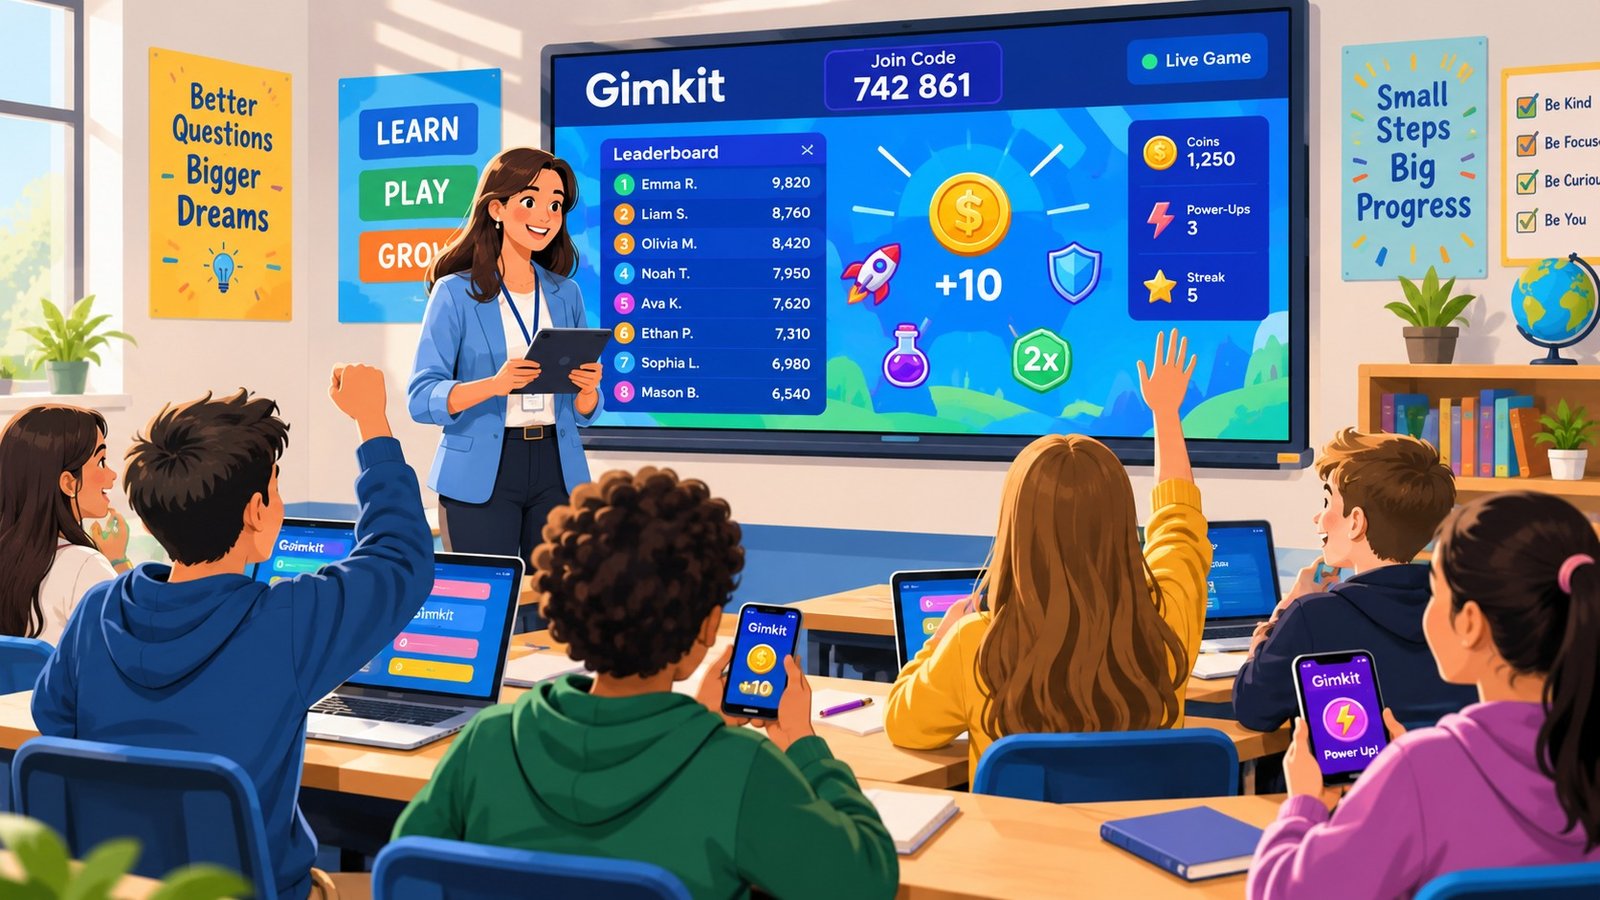
A Gimkit host is the person in control of a live game session. Usually, that’s a teacher, tutor, or classroom leader. As the host, you pick the kit, choose the game mode, manage settings, and monitor the leaderboard while students play.
Think of it like being a referee and a coach at the same time. You’re not just watching — you’re actively shaping the experience. You can pause the game, adjust the pace, and even step in as a player yourself if you want to join the fun.
This is different from apps like Kahoot, where the host mostly just clicks “next question.” Gimkit gives you more control throughout the entire game, which is part of why teachers prefer it for review sessions that need to adapt on the fly.
How to Host a Gimkit Game: Step-by-Step
Here’s the exact process, broken down into five simple stages.
Step 1: Create Your Account and Build a Kit
First, sign up at gimkit.com using the Educator option. You’ll need this account type to create kits and host games — student accounts can’t host on their own.
Once you’re in, click “New Kit.” Give it a title, pick a subject, and start adding questions. You have three options here:
- Type questions manually
- Import a Quizlet set (a huge time-saver if you already have one)
- Pull from Gimkit’s built-in question bank
Each question needs at least one correct answer and one wrong option. A middle school science teacher, for example, might build a 20-question kit on the water cycle in under 15 minutes using an imported Quizlet set.
Step 2: Pick a Game Mode
This is where Gimkit really stands out. Instead of one boring quiz format, you get several game modes to choose from — Classic, Team Mode, Blastball, Trust No One, and more.
Blastball works like a home-run derby: students answer questions to earn swings, then try to hit balls for points. Trust No One adds a social deduction twist, similar to Among Us, where a few “imposters” try to sabotage the group.
Choose a mode that fits your goal. If you want quiet, focused review, Classic mode keeps things simple. If your class needs an energy boost on a Friday afternoon, Blastball or Team Mode usually works better.
Step 3: Configure Your Settings
Before you hit start, adjust a few key settings:
- Session length or point target
- Whether late joins are allowed
- Power-up availability
- Music and sound volume
These small choices matter more than they seem. If you allow late joins for a 10-minute review, you might end up restarting the whole game for one student. Locking joins after the first minute usually keeps things running smoothly.
Step 4: Share the Join Code
Once your settings are ready, click “Host.” Gimkit will generate a join code. Share it on your screen, and students head to gimkit.com/join to enter it.
You can also display a QR code for younger students who might struggle typing a code correctly. This small tweak saves a surprising amount of classroom time.
Step 5: Manage and Review
While the game runs, keep an eye on the leaderboard. You can pause the action if students need a break, drop hints if a question is tripping everyone up, or extend the timer for a tricky round.
After the game ends, check the report. It breaks down individual performance and highlights questions the class struggled with as a group. One high school teacher shared that this feature helped her spot a common misconception in her algebra class — something she wouldn’t have noticed just by grading a regular worksheet.
Gimkit Free vs. Pro: Which One Do You Need?
Pricing confuses a lot of new hosts, so here’s a clear breakdown:
| Feature | Basic (Free) | Pro |
| Live hosting | Yes | Yes |
| Question bank access | Limited | Full access |
| Game modes | Basic modes only | All modes (Blastball, Trust No One, etc.) |
| Assignments (homework mode) | No | Yes |
| Image uploads | No | Yes |
| Price | $0 | $14.99/month or $59.88/year |
If you’re just testing Gimkit out, Basic is enough to get started. But if you plan to use it weekly, Pro pays for itself quickly — especially the Assignments feature, which lets you send a kit as homework instead of only running it live.
Gimkit vs. Kahoot vs. Blooket: A Quick Comparison
Since most teachers comparing tools ask this question, here’s a fast breakdown:
- Gimkit gives students in-game currency to spend on upgrades, which keeps engagement high even for students who aren’t in first place. It also offers the deepest host controls.
- Kahoot is faster to set up and works well for quick, low-stakes quizzes. But the host has less control once the game starts.
- Blooket leans heavily into game-style visuals and is popular with younger students, though it offers fewer analytics for tracking learning gaps.
- If your priority is detailed performance data and flexible game modes, Gimkit usually wins. If you just need a five-minute icebreaker quiz, Kahoot might be the quicker choice.
Common Problems (And How to Fix Them)
Even experienced hosts run into hiccups. Here are the most common ones:
- Students can’t join with the code. Double-check you’re sharing the correct code — it refreshes for every new session. Also confirm students are going to gimkit.com/join, not the main homepage.
- The game freezes or lags. This usually happens on older school Wi-Fi networks with many devices connected at once. Try restarting the session, or ask students to close other browser tabs.
- A student joins as a duplicate name. Gimkit sometimes has trouble with special characters in names. Ask students to use simple first names or nicknames to avoid confusion on the leaderboard.
- Mobile hosting feels limited. While students can join easily from phones, hosting from a phone is trickier — some settings are easier to manage from a desktop or laptop. If you’re hosting from a classroom computer, you’ll have full access to every option.
Frequently Asked Questions
Is Gimkit free for students?
Yes. Students never need to pay or create an account to join a live game. The Educator (host) is the one who needs an account, and only Pro features require a paid plan.
Can I host Gimkit without an account?
No, hosting requires an Educator account. Creating one is free and only takes a couple of minutes.
Can students host their own Gimkit game?
Yes, through a feature called KitCollab. It lets students build and share questions collaboratively, though a teacher usually still manages the live session.
How many students can join one Gimkit game?
Gimkit supports large classes, and most teachers report no issues even with 30+ students joining at once.
Can I use Gimkit for homework instead of a live game?
Yes. With a Pro account, you can assign a kit for students to complete independently, and the results sync back to your dashboard automatically.
Final Takeaway
Hosting a Gimkit game isn’t complicated once you understand the five basic steps: build a kit, choose a mode, adjust your settings, share the code, and manage the session. The real value comes from using the right game mode for your goal and reviewing the post-game report to catch learning gaps early.
Start small. Try one live session with a simple kit, get comfortable with the host controls, and build from there. Once you see how much more engaged your students are compared to a regular quiz, you’ll understand why so many teachers keep coming back to Gimkit.
Also Read:
 Owner
Owner
[…] The Complete Gimkit Host Guide: Everything Teachers Need to Know in 2026! […]